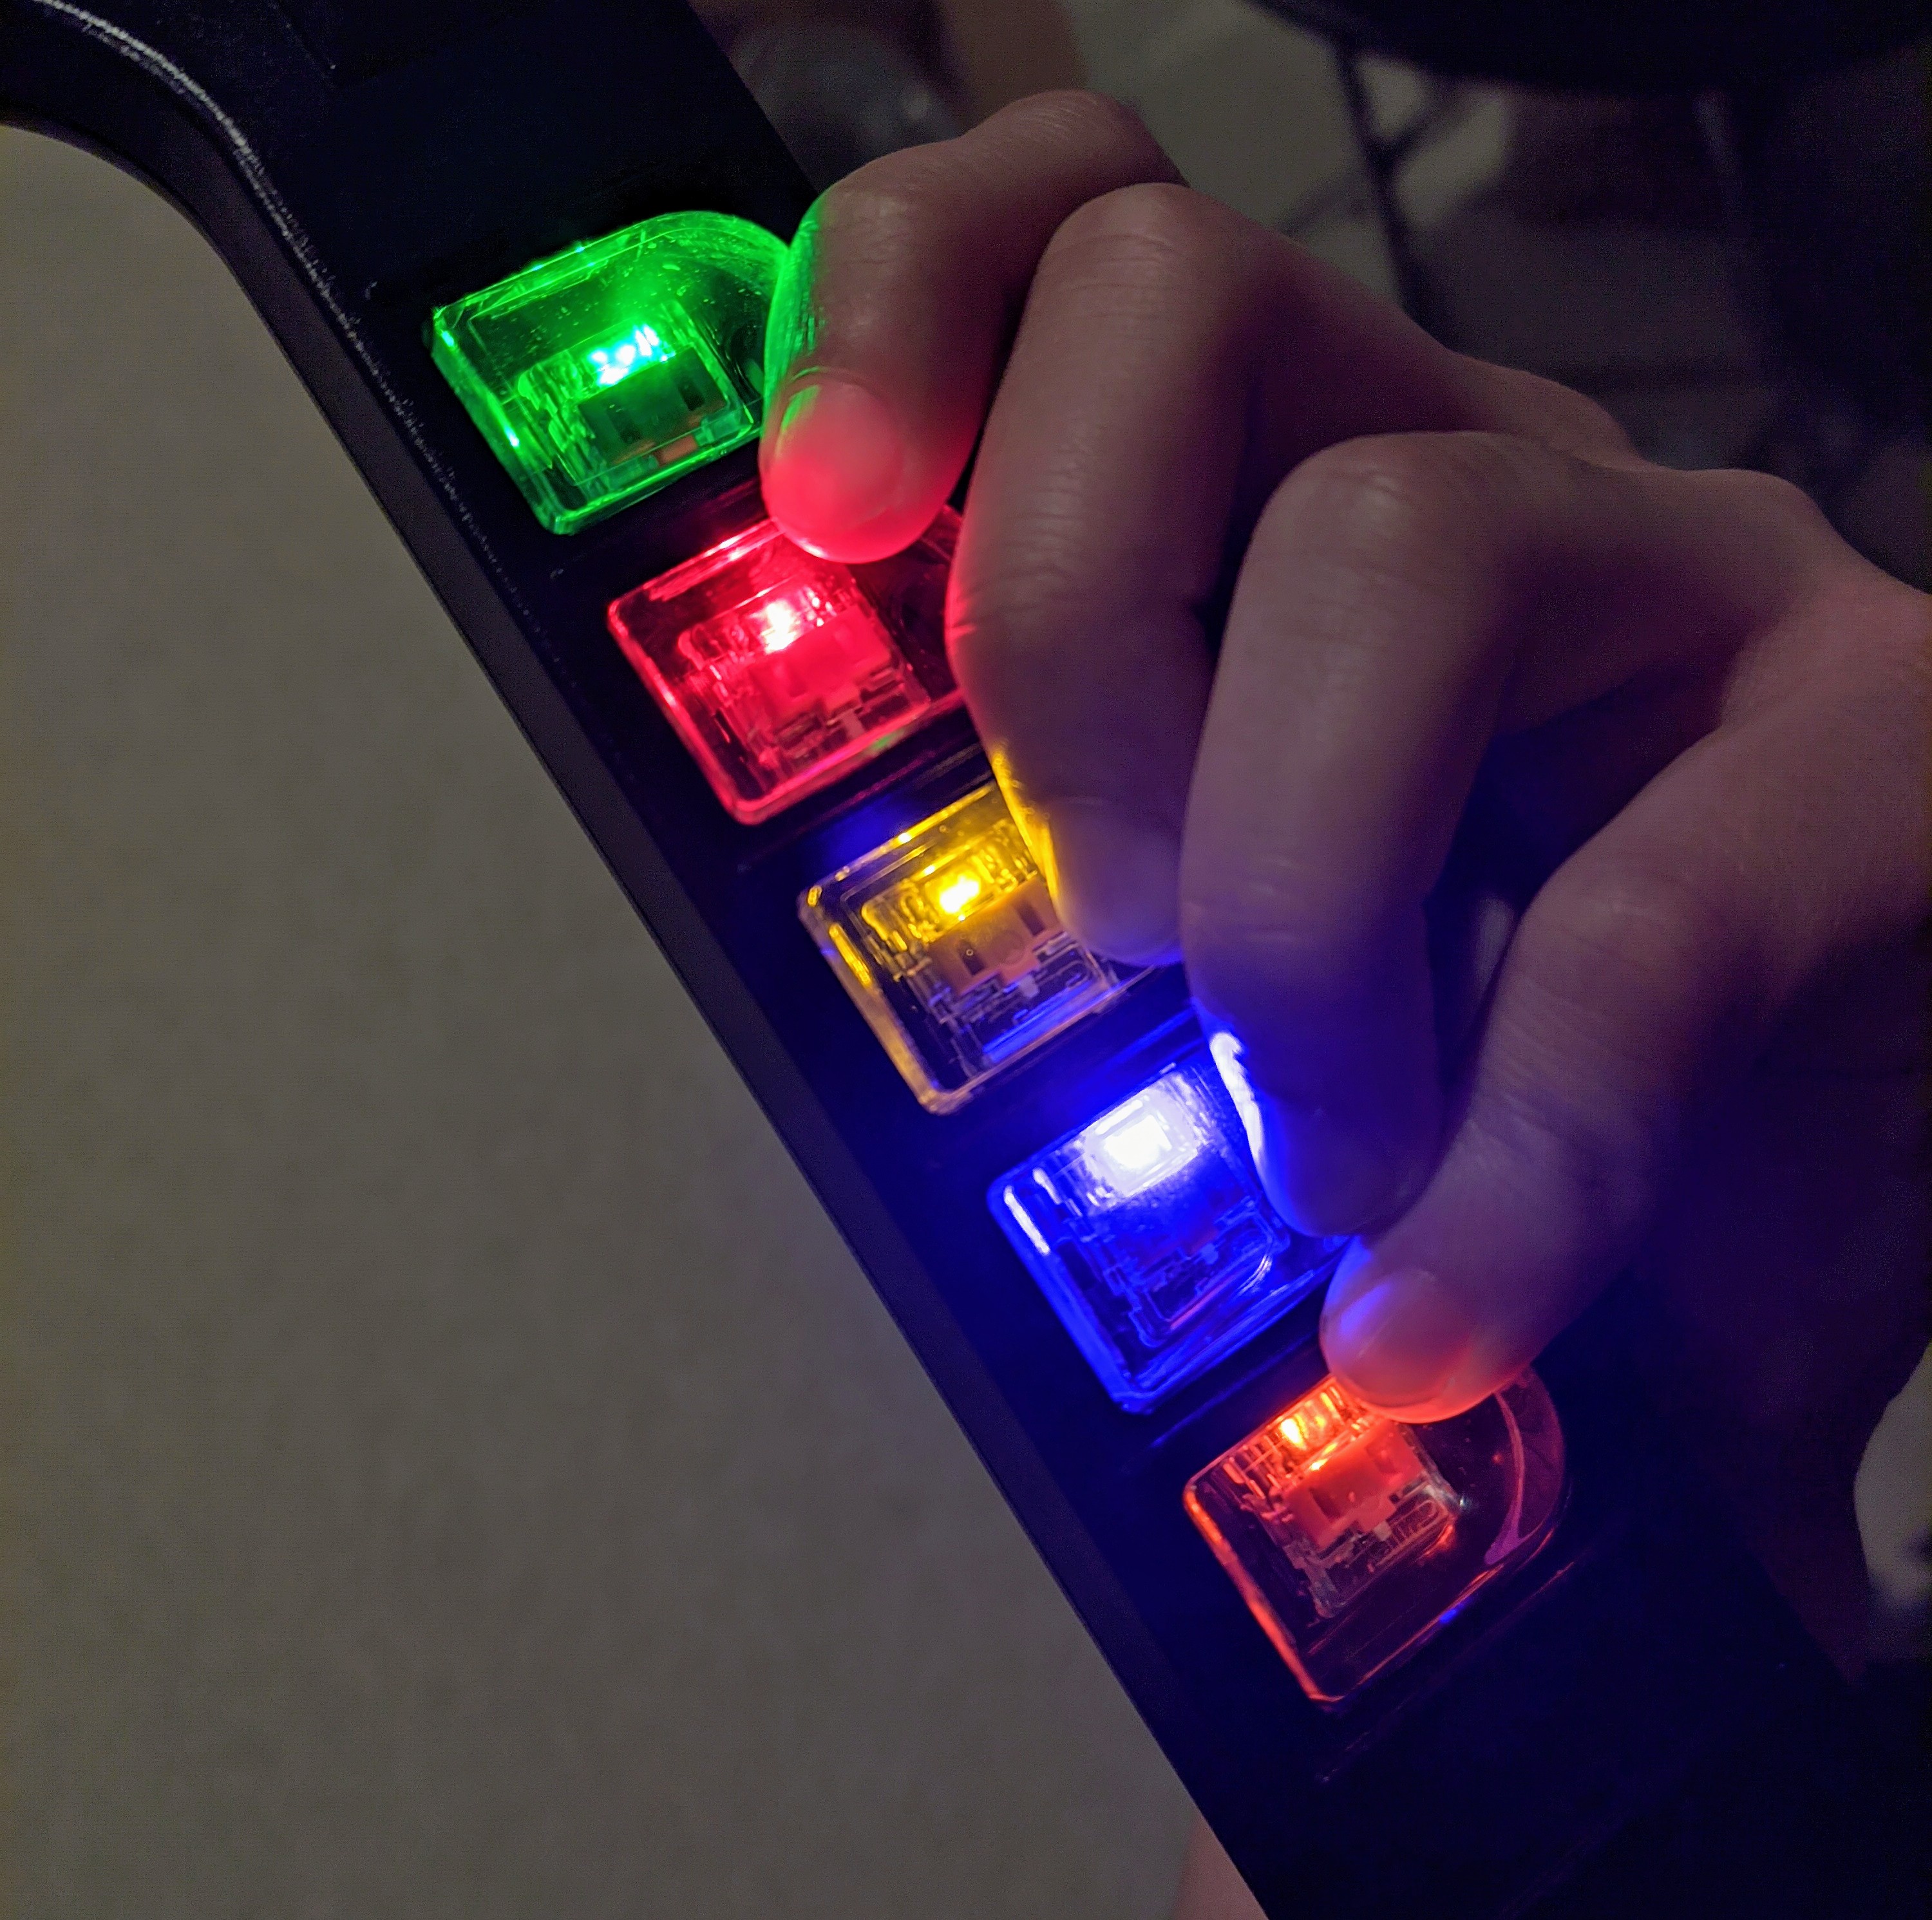
Adding Standard LEDs inline on a controller
If you don't want to use APA102s, and just want to hook up normal LEDs from buttons, you can follow the following guide.
Supplies
- A controller modded using any of the guides
- Some LEDs
- The correct current limiting resistor for your specific LEDs
The finished product
Schematic
Note that you can use whatever pins you want as your digital pins, this is just for example And node that the 220ohm resistor value is also for demonstration, you will need to calculate the correct resistor for your specific LEDs. Usually LEDs will have a recommended resistor in their datasheets, but there are also calculators online.
Steps
-
Hook all the anodes of the LEDs to the 5V pin on your microcontroller (note that for the pi pico, this is VBUS).
-
Hook up the cathodes of the LEDs to one side of each fret
-
Hook the other side of the fret up to a digital pin on your microcontroller
-
Hook up the resistor in parallel between each digital pin and ground. You should have two connections to each digital pin, one going to the fret, and one going to a resistor that then goes to ground.
-
If you would like to also respond to game events, such as star power in YARG, you can wire seperate LEDs to digital pins on the microcontroller. Instead of connecting this in parallel, put the LED and resistor in series. You should end up with the pin on the microcontroller going to a resistor, then the LED and then ground. This is also how you would set up things like Player LEDs. For star power, you need to hook up the LED to a pin that supports analog outputs, which can be found in the following table:
Microcontroller Analog Output Pins Pi Pico (Recommended) Any Pro Micro, Leonardo, Micro 3, 5, 6, 9, 10, 11, 13 Uno 3, 5, 6, 9, 10 Mega 2 - 13, 44 - 46
Programming
- Click on the button in question
- Make sure the input type is set to
Digital Pin Input - Make sure
Pin Modeis set toPull Up. - Hit
Find Pin - Press the button on your controller
- Turn on
Invert. Due to how we wire LEDs, the input needs to be inverted to work correctly. - If you want to react to game events in supported games, you can hit the
Add Settingbutton and add a LED Binding. - Then turn on
Enable Digital Outputand set theDigital Output Pinto the pin you have configured. - The star power LED instead requires turning on
Enable Analog Outputand setting theAnalog Output Pin.

